
Chances are, your marketing team manages blog projects on spreadsheets. You probably track who is working on it, what state it’s in, when it’s going to be published, what it’s about, how it fits into larger marketing campaigns… And that’s just the stuff you’re concerned with before it’s published.
With that many facets to a (seemingly) simple project, it’s no wonder details get missed. But many teams that publish high-quality blogs on a regular basis have discovered a trick for keeping everything in order: they use a project management tool with a workflow engine so they can spend less time squinting at Excel and more time crafting a catchy turn of phrase.
Get the marketing workflow ebook
It’ll come as no surprise that Atlassian’s marketing team uses Jira Core, Confluence, and Trello to keep our blogs running smoothly. So today I’m going to get all meta with a blog about how we use Jira Core, including some example workflows, to track our blogs. (If your company employs developers, chances are they’re using Jira Software to track their work. That’ll work well too – contact your friendly neighborhood Jira admin to get user accounts set up for you and your team.)
Start with a great workflow
Jira Core’s default workflow is really basic, with just three workflow states: Open, In Progress, and Done. This is a great one to start with because it’s simple and flexible.
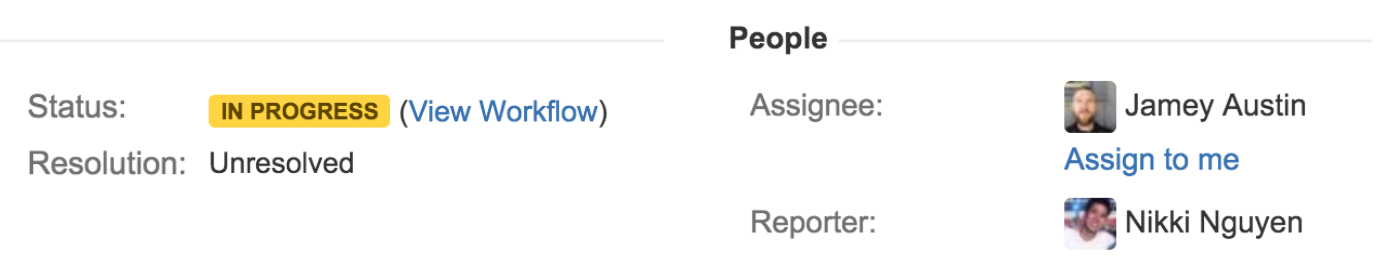
Of course, as veteran bloggers know, there are sub-flavors of “in progress”: panicking, drafting, reviewing, editing, formatting, obsessing… and it’s usually a different person involved in each of those. So rather than getting granular with states, workflow newbies can assign issues to the different people involved in each step as a sort of proxy for status.
But we Atlassian marketers are hardly workflow newbies. So we geeked out and created a customized workflow and a custom issue type to go with it.
Issue type
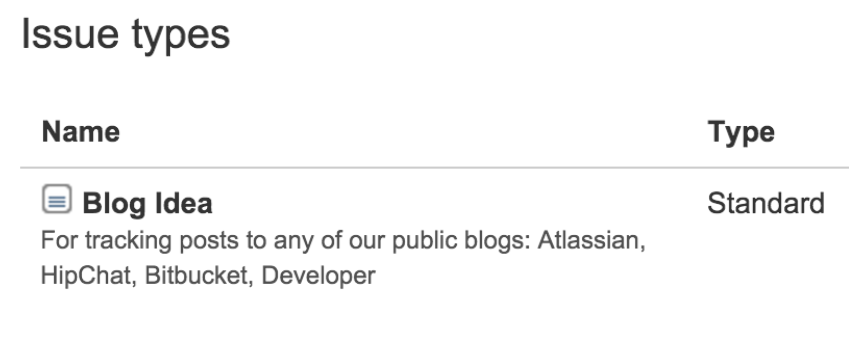 Having a custom issue type gives us a quick way to distinguish blogging work from other types of marketing work – both when searching for issues and when looking at all the issues assigned to us. It’s even got its own little icon. We called the issue type “Blog Idea”.
Workflow states
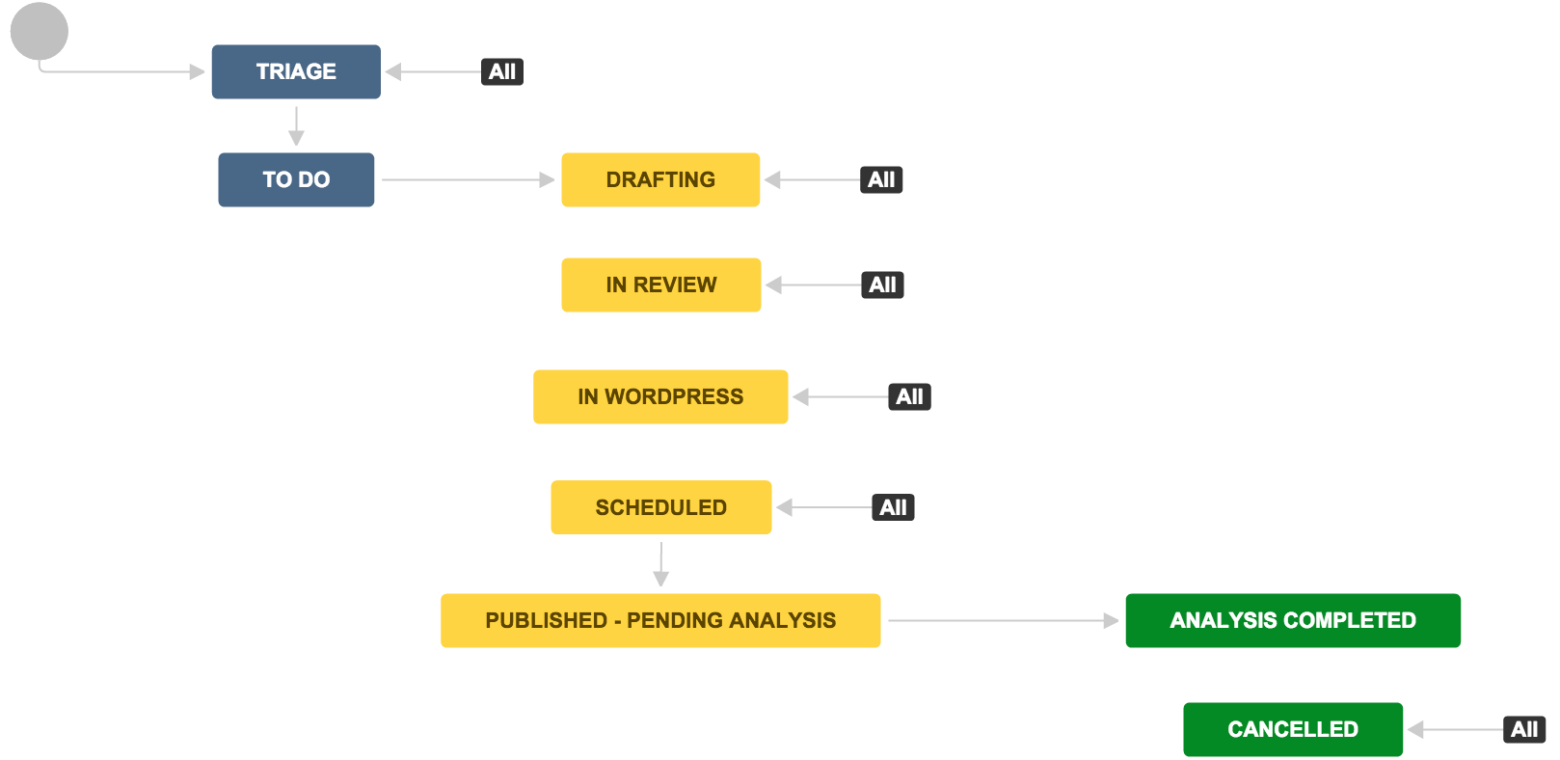
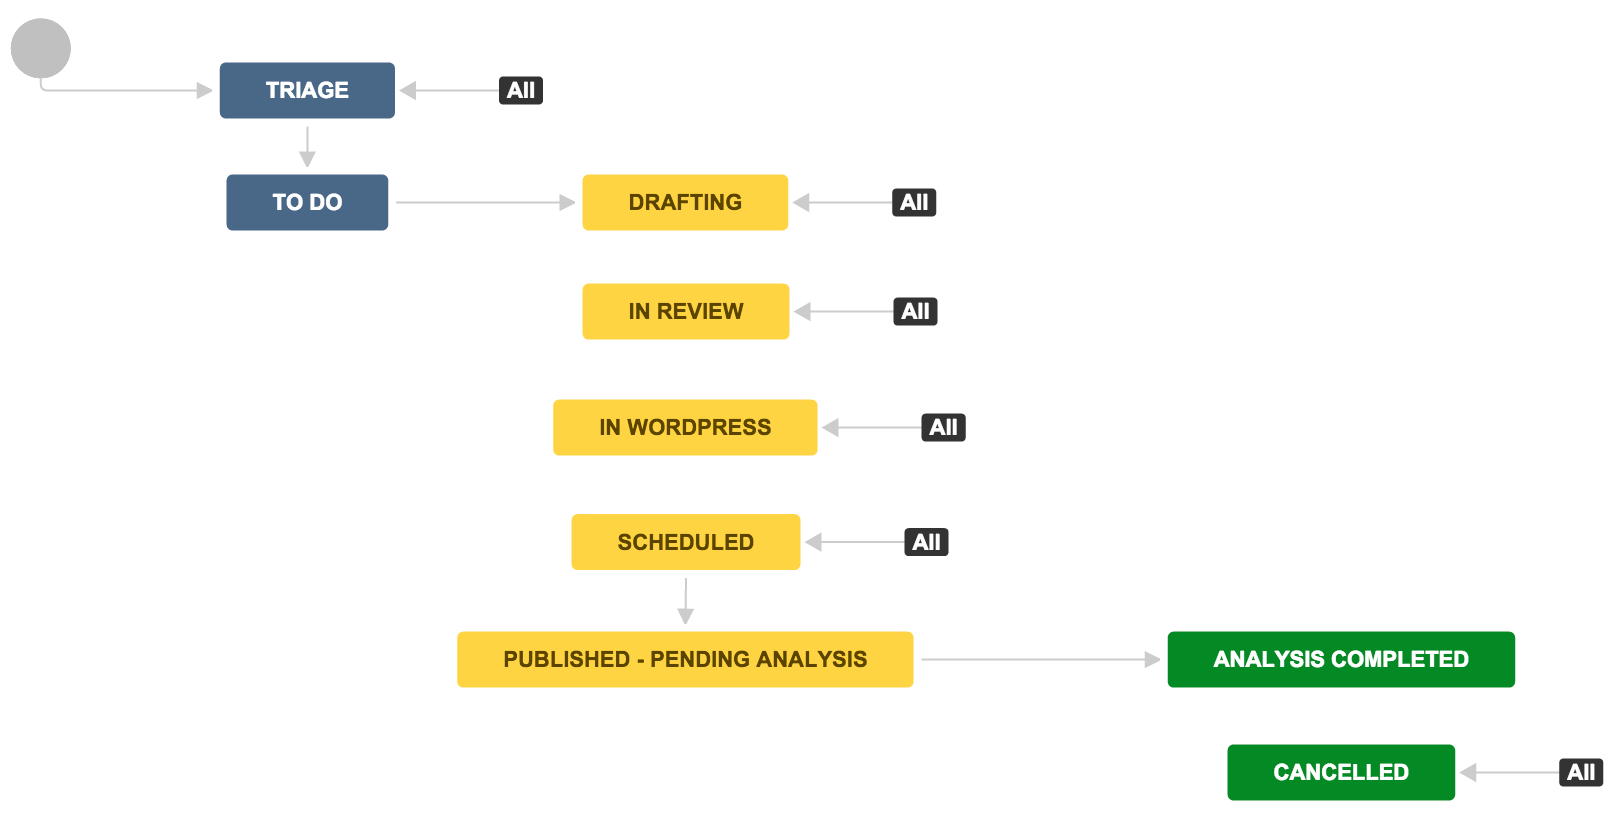
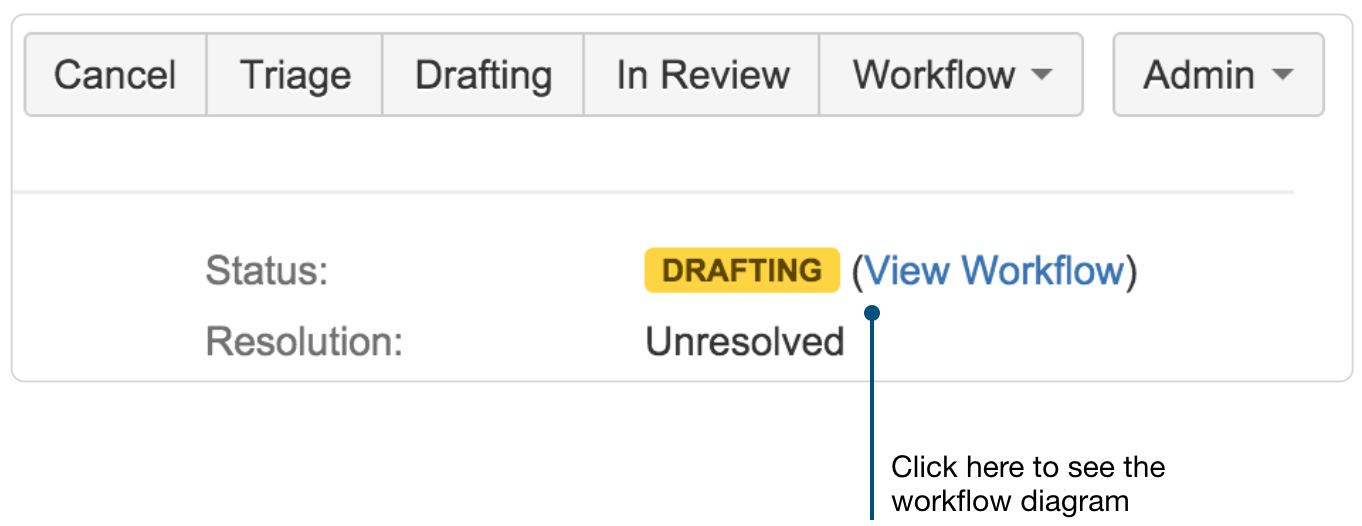
Our blog projects flow through eight states: Triage, To Do, Drafting, In Review, In WordPress, Scheduled, Published – Pending Analysis, and Analysis Completed.
It’s dangerously easy to go wild with workflows and add like 40 states. If you remember nothing else about custom workflows, remember this:
Whatever you’re tracking in Jira, only create custom workflow states for distinct stages in your process.
For example, we triage incoming blog ideas to make sure we understand why they’re worth writing and what the storyline will be before anybody puts pen to paper (Triage). Then the author writes the initial draft (Drafting), and sends it around for review to their fellow subject matter experts, as well as the content marketing team (In Review). During the In WordPress stage, my team and I put the finishing touches on: polish up the copy, add images, look at SEO, and then schedule the blog for publish. It’s common for this to happen several days in advance of publishing, so we added a Scheduled state to make it clear to stakeholders that everything is ready to go.
Further reading: Check out our recent post on creating blogging guidelines and templates all your authors can use.
Once the blog is live, we move its Jira issue to Published – Pending Analysis. And 30 days after publish, we perform a lightweight analysis on how the blog performed. How many times was it read? What was the bounce rate? Did it meet its initial goals? All of which is also tracked inside the issue (more on that in a moment). Only then does the issue reach its final state of Analysis Completed. We also have a terminal state called Cancelled for blog ideas that are abandoned.
Making the move from managing your blog with spreadsheets to managing it with Jira Core is a significant change in the way your team works. (Hopefully for the better!) If you’re feeling overwhelmed just thinking about it, take heart: we didn’t have all this custom stuff on day 1.
We’ve been evolving our use of Jira over several years, with a special focus on it over the past 10 months. In fact, I noticed a handful of opportunities for improvement while writing this article! After talking with my team, we re-worked our workflow to better reflect the way work actually happens on the ground.
My point is this: just start somewhere. Anywhere. But start now. Take a first stab at it, and keep iterating.
Got an example Jira workflow for blogging to share?
Tweet a screenshot to @Jira. There may be some sweet swag in it for you!
Stay tuned for part 2 of this series, in which I’ll dive into the custom fields we’ve added to our Blog Idea issues. Spoiler alert: all you data nerds out there are gonna love this.
Did you find this post helpful? Share it on your social network of choice and help your fellow marketers wrangle their blogging workflow!